If you don’t have any map files or textures, and want to fully setup your Godot project with your Trenchboom editor, read the page on Trenchbroom Setup first. Otherwise, continue reading.
Building Maps
Building Basic Geometry
- With the plugin installed and enabled, Add a .map file to your project. It will import as a visible resource in your FileSystem dock.
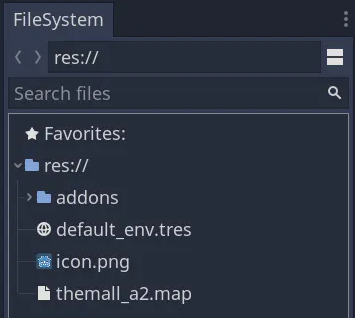
-
Add a QodotMap node from the Add Node menu, or press Ctrl + A and type “QodotMap”.
-
Select QodotMap, then go to the Inspector. Click the folder icon in the Map File property and choose your map file.

- Hit Full Build in the toolbar. (If Full Build isn’t visible, check you’re running the C# build and press Alt + B.
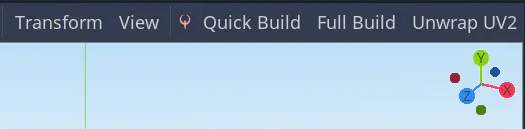
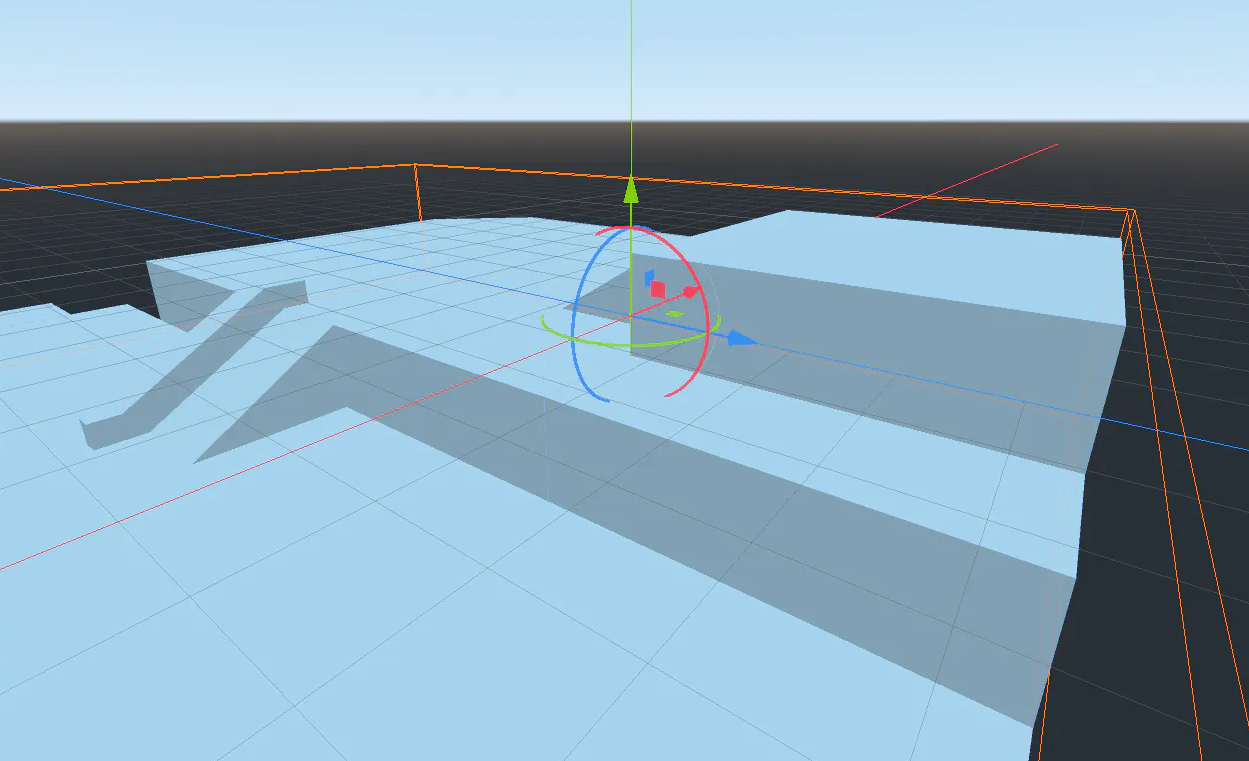
Your map geometry is now in Godot!
Build Troubleshooting
If your map isn’t building, try the following solutions:
- Check the console for errors and post a screenshot of your editor window to the community.
- Check that your map or textures doesn’t use spaces or UTF-8 exclusive characters.
Loading Textures
This assumes your map already has textures. If you’re starting from scratch, and want to unite your Godot project with your Trenchboom editor, read the page on Trenchbroom Setup.
Using Loose Textures
If your map already has textures, make sure your Godot project has access to the same folder names used in the map. You can copy the map’s loose textures into a folder, such as res://textures.
Then, set Base Textures Dir to the folder with your map’s loose textures.
Using WADs
Add a .WAD file to your project. As long as Qodot enabled, it will be imported as a Godot resource. You can check its contents by double clicking the resource in FileSystem to reveal a Dictionary of textures.
Select your QodotMap, then scroll down to Texture WADS and add an element to the Array.
Drag and drop the .WAD file onto the Array, or click Load and pick the .WAD file from the file browser.